


Photography School
Learn how to use different camera modes, from auto to manual, to take more control over your photography.
Developing Basic Photography Skills
Photography School | Learn Photography Online
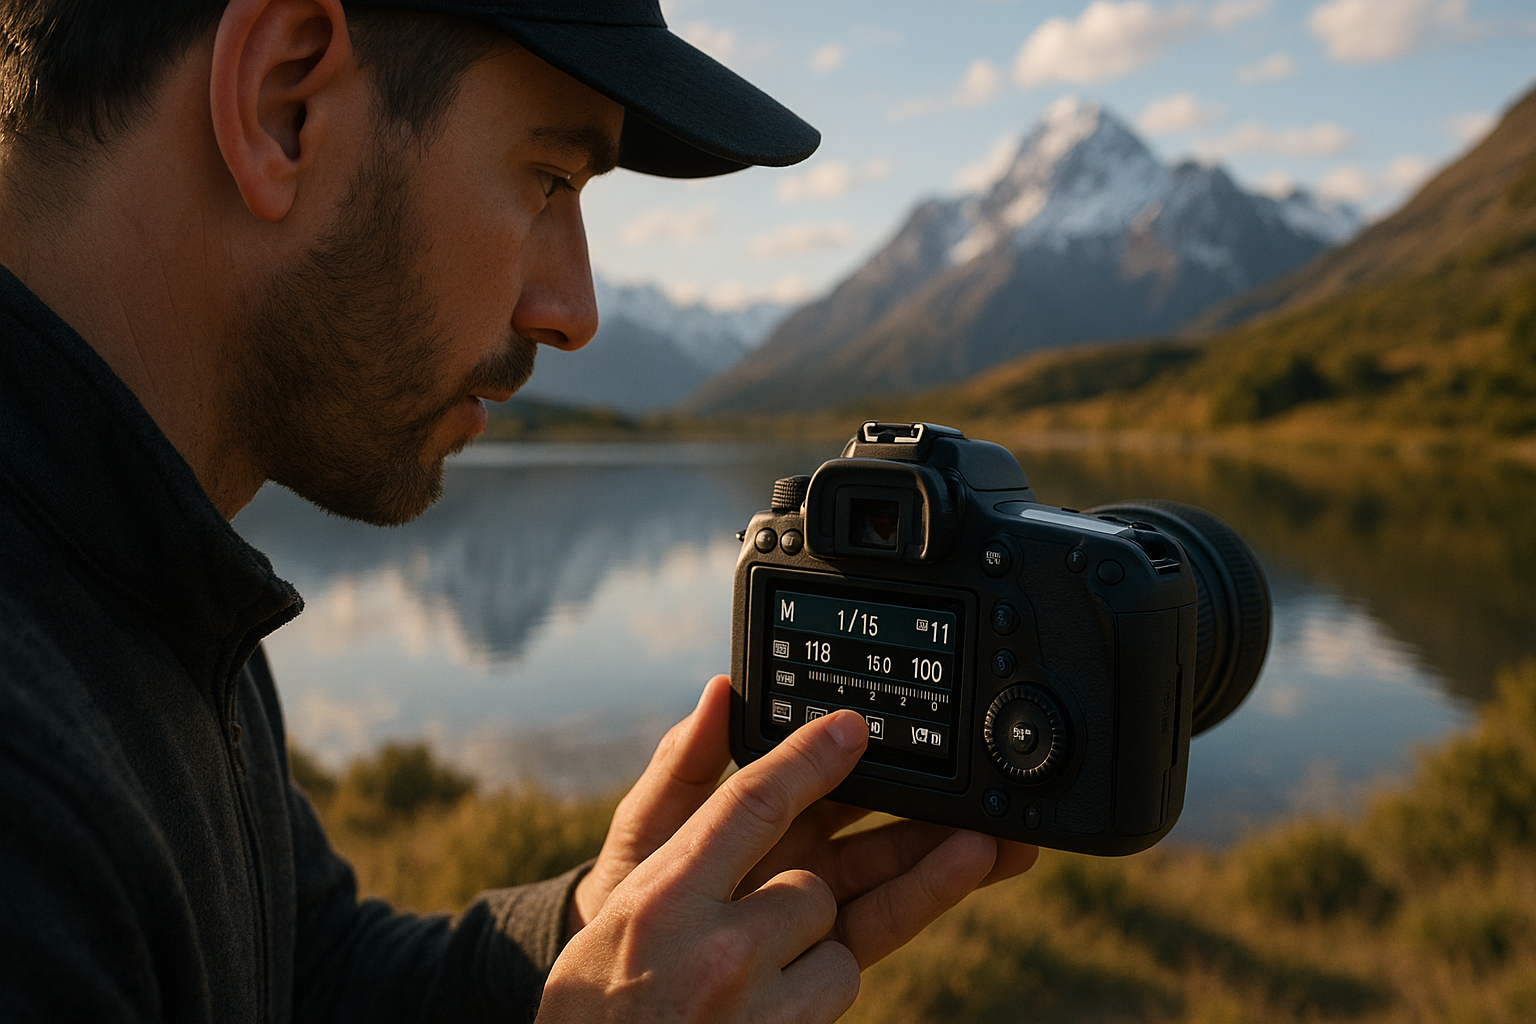
10 Step Camera Settings
Photography School | Learn Photography Online
Learn the fundamentals of photography with simple, practical lessons designed for beginners. Discover how to use your camera with confidence, explore key settings, master composition and lighting, and start taking creative, professional-looking photos.

01
Camera Modes
Learn how to use different camera modes, from auto to manual, to take more control over your photography.
02
Exposure Triangle
Understand the exposure triangle and how aperture, shutter speed, and ISO work together for perfect photos.
03
Shutter
Discover how shutter speed affects motion in photography, from sharp stills to creative blur effects.
04
Aperture Value
Master aperture settings to control depth of field and create beautifully focused, professional-looking shots.
05
ISO
Learn how ISO affects light sensitivity, image quality, and when to adjust it for the best results.
06
Focusing
Explore focusing techniques to achieve sharp, precise photos whether shooting portraits, landscapes, or action.
07
Exposure Compensation
Find out how exposure compensation helps balance bright and dark areas for well-exposed images.
08
Metering
Understand metering modes and how they guide your camera to set the right exposure in different lighting.
09
Sharp Photos
Discover simple techniques to take sharper photos, from camera stability to focusing and settings.
10
Using the Flash
Learn how and when to use flash effectively for natural-looking, well-lit photographs.
Useful Tips and Tricks
Photography School | Learn Photography Online
Types of Photography
Photography School | Learn Photography Online
Discover the many types of photography and find your perfect style. From portraits, landscapes, and wildlife to street, travel, and architectural photography, learn the techniques that make each genre unique. Improve your skills and expand your creativity with step-by-step guidance.
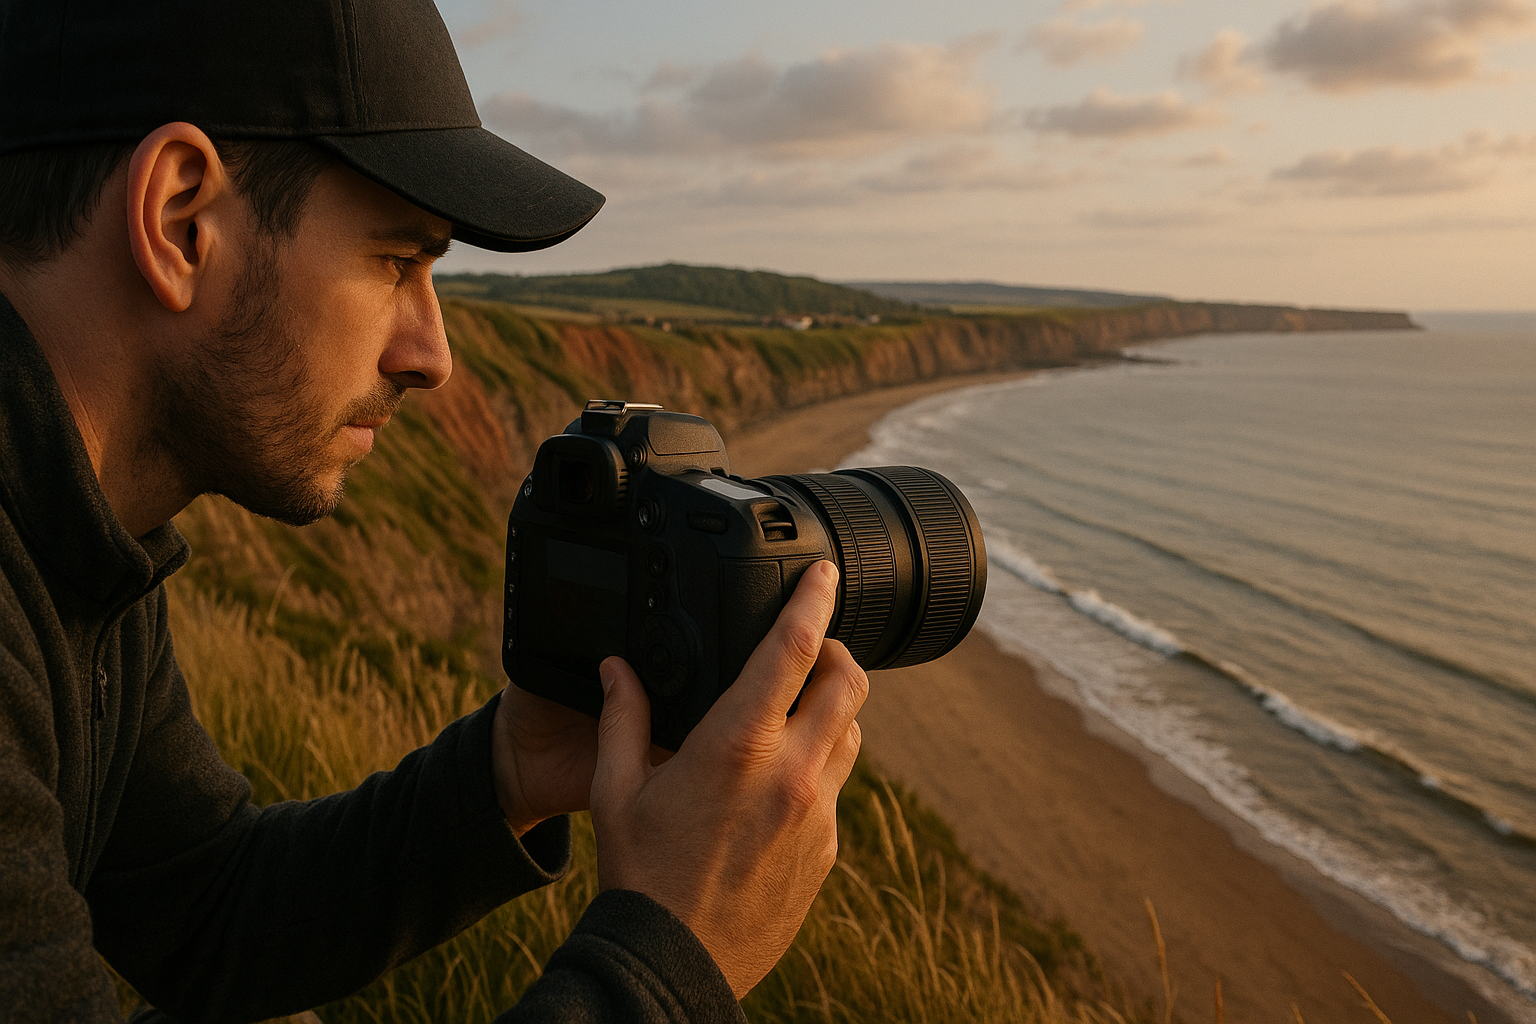
Landscapes
1. Plan Your Shots Around the Light
Lighting can make or break a landscape photo. The best times to shoot are during the golden hour (shortly after sunrise or before sunset) and the blue hour (just before sunrise or after sunset). These times create soft, warm tones and natural contrast that make landscapes look breathtaking. Understanding how light interacts with your scene helps you capture images that feel alive and professional.
2. Use a Tripod for Maximum Sharpness
A sturdy tripod is essential for sharp, detailed landscape photos, especially when using slow shutter speeds. It eliminates camera shake, allowing you to shoot at low ISO settings and smaller apertures (like f/8 to f/11) for greater depth of field. This ensures every detail — from the foreground to the distant horizon — remains crisp and clear.
3. Master Your Composition
Follow the rule of thirds to balance your scene and lead the viewer’s eye through the frame. Include strong foreground interest, such as rocks, flowers, or reflections, to add depth. Lines, patterns, and natural symmetry can guide attention toward key elements, creating a more immersive photograph.
4. Use Filters and Manual Settings
Graduated neutral density (ND) filters help balance exposure between bright skies and darker landscapes. Switch to manual mode or aperture priority to fine-tune settings for exposure, sharpness, and creative control. Learning how to adjust ISO, aperture, and shutter speed will elevate your photography from basic to professional.
5. Edit Thoughtfully for Natural Results
Post-processing is a vital step in landscape photography. Use tools like Lightroom or Photoshop to enhance contrast, adjust white balance, and sharpen key details — without over-saturating colours. Aim to preserve the natural beauty of the scene while highlighting its best features.
Seascapes
1. Capture the Power and Mood of the Sea
Seascape photography is all about timing, atmosphere, and movement. The sea constantly changes, so learning to read the tides and weather can dramatically improve your shots. Early morning and late evening light create rich colours and soft shadows, while cloudy days add drama and mood. Always plan your session around tide times and wave conditions for the most dynamic compositions.
2. Use a Tripod and Long Exposures for Stunning Effects
A sturdy tripod is essential for seascape photography. It keeps your camera stable during long exposures, allowing you to create silky-smooth water effects or capture streaking clouds. Try using shutter speeds between 1–5 seconds for gentle water motion, or longer exposures (up to 30 seconds) for a dreamy, misty look. Neutral density (ND) filters help reduce light so you can use slower shutter speeds even during bright daylight.
3. Protect Your Gear from the Elements
Saltwater, wind, and sand can damage your camera and lenses, so always carry a lens cloth and use a rain cover. After every shoot, wipe down your equipment to remove salt residue. Using a UV or clear filter can protect your lens glass from sea spray without affecting image quality.
4. Compose for Depth and Balance
Incorporate foreground interest — such as rocks, reflections, or tidal pools — to create depth and draw viewers into the scene. Use the rule of thirds to place the horizon creatively, either high to emphasise the ocean or low to showcase dramatic skies. Leading lines like waves or coastline curves can help guide the viewer’s eye naturally through the image.
5. Edit for Natural Tones and Detail
When editing seascape photos, aim to enhance the natural blues, teals, and warm highlights of the water and sky. Adjust contrast and clarity to bring out textures without losing the soft movement of the sea. Keep your edits subtle so the image feels immersive and true to life.
Waterscapes
1. Understanding Waterscapes
Waterscape photography focuses on capturing the beauty of rivers, lakes, waterfalls, and ponds — where water becomes the main subject or a creative element in the composition. Calm, reflective water can produce mirror-like surfaces that double your scenery, while moving water adds texture and energy. The best results come during the golden hour or blue hour, when the light is soft, warm, and perfectly complements the reflective qualities of water.
2. Control Shutter Speed for Creative Effects
Your choice of shutter speed can transform the mood of a waterscape. Use long exposures (1–30 seconds) to smooth out ripples, capture flowing waterfalls, or create dreamy reflections. For crisp, detailed textures in fast-moving water, opt for faster shutter speeds. Neutral density (ND) and polarising filters are essential tools — ND filters reduce light for longer exposures, while polarising filters cut glare and enhance colour saturation.
3. Compose with Foreground and Reflection
Add depth and visual interest by including rocks, reeds, or driftwood in the foreground. Use reflections creatively by placing subjects like trees or mountains along calm water surfaces to achieve perfect symmetry. Applying the rule of thirds helps balance your composition and draw the viewer’s eye naturally through the frame.
4. Keep Your Images Sharp and Balanced
Use a tripod to eliminate camera shake and capture every detail in low-light situations. Choose a narrow aperture (f/8 to f/11) for a wide depth of field, ensuring both foreground and background are sharp. Keep ISO low to preserve clarity and avoid digital noise, especially when shooting at dawn or dusk.
5. Edit for Realistic Colour and Detail
In post-processing, enhance contrast and clarity carefully to highlight textures in water and surrounding elements. Slight adjustments to highlights and shadows can reveal detail without overexposing reflective areas. Maintain a natural look that reflects the scene’s tranquillity — the best waterscape images feel immersive, calm, and true to life
Street Photography
1. What Is Street Photography?
Street photography is all about capturing real, unscripted moments in public spaces. It focuses on human emotion, everyday life, and the unique energy of urban environments. Whether it’s a fleeting expression, a shadow on a wall, or the rhythm of city movement, street photography turns ordinary scenes into powerful visual stories. The best street photographers blend observation, timing, and creativity to reveal the beauty in daily life.
2. Be Ready to Capture the Moment
Street photography often happens in an instant. Keep your camera ready with a fast shutter speed and a wide aperture to freeze motion and adapt to changing light. Use aperture priority or manual mode to maintain control over exposure, and shoot in RAW for maximum flexibility when editing. Compact cameras or mirrorless systems are ideal for staying discreet and capturing authentic, candid shots.
3. Focus on Composition and Light
Great street photos use composition and light to tell a story. Look for leading lines, reflections, and contrasting shadows that add mood and structure. Early morning and late afternoon offer softer light, while mid-day sun creates bold contrast and sharp silhouettes. Including architectural elements or street signs can provide context and strengthen the narrative within your frame.
4. Capture Emotion and Authenticity
The heart of street photography lies in capturing genuine human emotion. Focus on gestures, facial expressions, and interactions that reflect real life. Try shooting from different angles or distances — sometimes stepping back to include the environment can make the story more powerful. Always be respectful of your subjects and their space while photographing candidly.
5. Edit for Atmosphere, Not Perfection
Post-processing should enhance the story without over-polishing it. Adjust contrast, clarity, and shadows to bring out mood and depth. Many street photographers prefer black and white to highlight emotion and structure, but subtle colour grading can also add character. The goal is to preserve the raw, spontaneous feel that makes street photography so compelling.
Wildlife
1. Understanding Wildlife Photography
Wildlife photography is the art of capturing animals in their natural habitats, revealing their behaviour, beauty, and environment. It requires patience, planning, and an understanding of animal movement. Successful wildlife photographers blend technical skill with fieldcraft — knowing when to approach, when to wait, and how to blend into the surroundings. Early mornings and late afternoons often offer the best light and activity, allowing for vibrant, detailed shots that bring the wild to life.
2. Prepare and Know Your Subject
Researching your subject before heading into the field is essential. Learn about their habits, feeding times, and typical environments. The more you understand animal behaviour, the better you can anticipate movement and capture unique moments. Preparation also means having the right gear — telephoto lenses, spare batteries, and weather protection are vital for shooting outdoors.
3. Master Camera Settings for Sharp Results
Wildlife photography often involves fast action and unpredictable motion. Use a fast shutter speed (1/1000s or faster) to freeze movement and ensure sharpness. Set your camera to continuous autofocus (AI Servo/AF-C) to track moving subjects, and consider using burst mode to capture split-second moments. A wider aperture (like f/4 or f/5.6) helps isolate the subject from the background while maintaining a shallow depth of field.
4. Prioritise Ethics and Respect
Respect for wildlife always comes first. Never disturb animals, alter their behaviour, or enter restricted areas to get a shot. Ethical wildlife photography means keeping a safe distance, using long lenses instead of approaching, and leaving no trace of your presence. Capturing authentic moments while preserving the animal’s wellbeing should always be the top priority.
5. Edit for Natural Beauty and Impact
Post-processing can enhance details, colours, and textures without making the image look artificial. Adjust white balance and contrast to bring out the true tones of fur, feathers, and foliage. Avoid excessive saturation — the goal is to reflect the natural beauty of the wild as the eye would see it. Clean, balanced edits help your wildlife images look professional and timeless.
Portrait
1. What Is Portrait Photography?
Portrait photography focuses on capturing the essence, personality, and emotion of a subject — whether it’s a professional headshot, lifestyle image, or creative artistic portrait. The key is connection: making your subject feel comfortable so their true expression shines through. Great portrait photographers use lighting, composition, and background control to create striking images that tell a story about the person in front of the lens.
2. Master Lighting for Mood and Depth
Lighting can transform a portrait from ordinary to powerful. Natural light — especially during the golden hour — produces soft, flattering tones that highlight skin and detail. For indoor or studio portraits, use softboxes or reflectors to shape light and control shadows. Position your subject at a 45-degree angle to the main light source to create depth and texture, and use backlighting creatively for a more atmospheric effect.
3. Focus on Eyes and Expression
The eyes are the focal point of any portrait. Use single-point autofocus and aim directly for the eyes to ensure they are sharp and clear. Encourage your subject to relax and express natural emotion — genuine smiles and candid expressions often create more powerful portraits than posed shots. A shallow depth of field (around f/1.8–f/4) helps isolate your subject from the background and draws attention to their face.
4. Choose the Right Background and Composition
Keep your background simple to avoid distractions. Use leading lines, symmetry, or environmental elements that complement your subject’s character. Framing techniques, such as shooting through doorways or using natural surroundings, can add context and interest without overpowering the main focus — your subject.
5. Edit for Natural Skin Tones and Subtle Enhancements
In post-processing, aim to enhance without over-retouching. Adjust exposure, contrast, and white balance to bring out lifelike skin tones. Use selective sharpening around the eyes and soften only where needed. The best portrait edits maintain authenticity while subtly improving clarity, mood, and emotional impact.