
ISO
Learn ISO in Photography | Control Light and Image Quality
Learn what ISO means in photography, how it affects brightness and image quality, and discover tips for choosing the right ISO setting to capture stunning photos in any lighting.
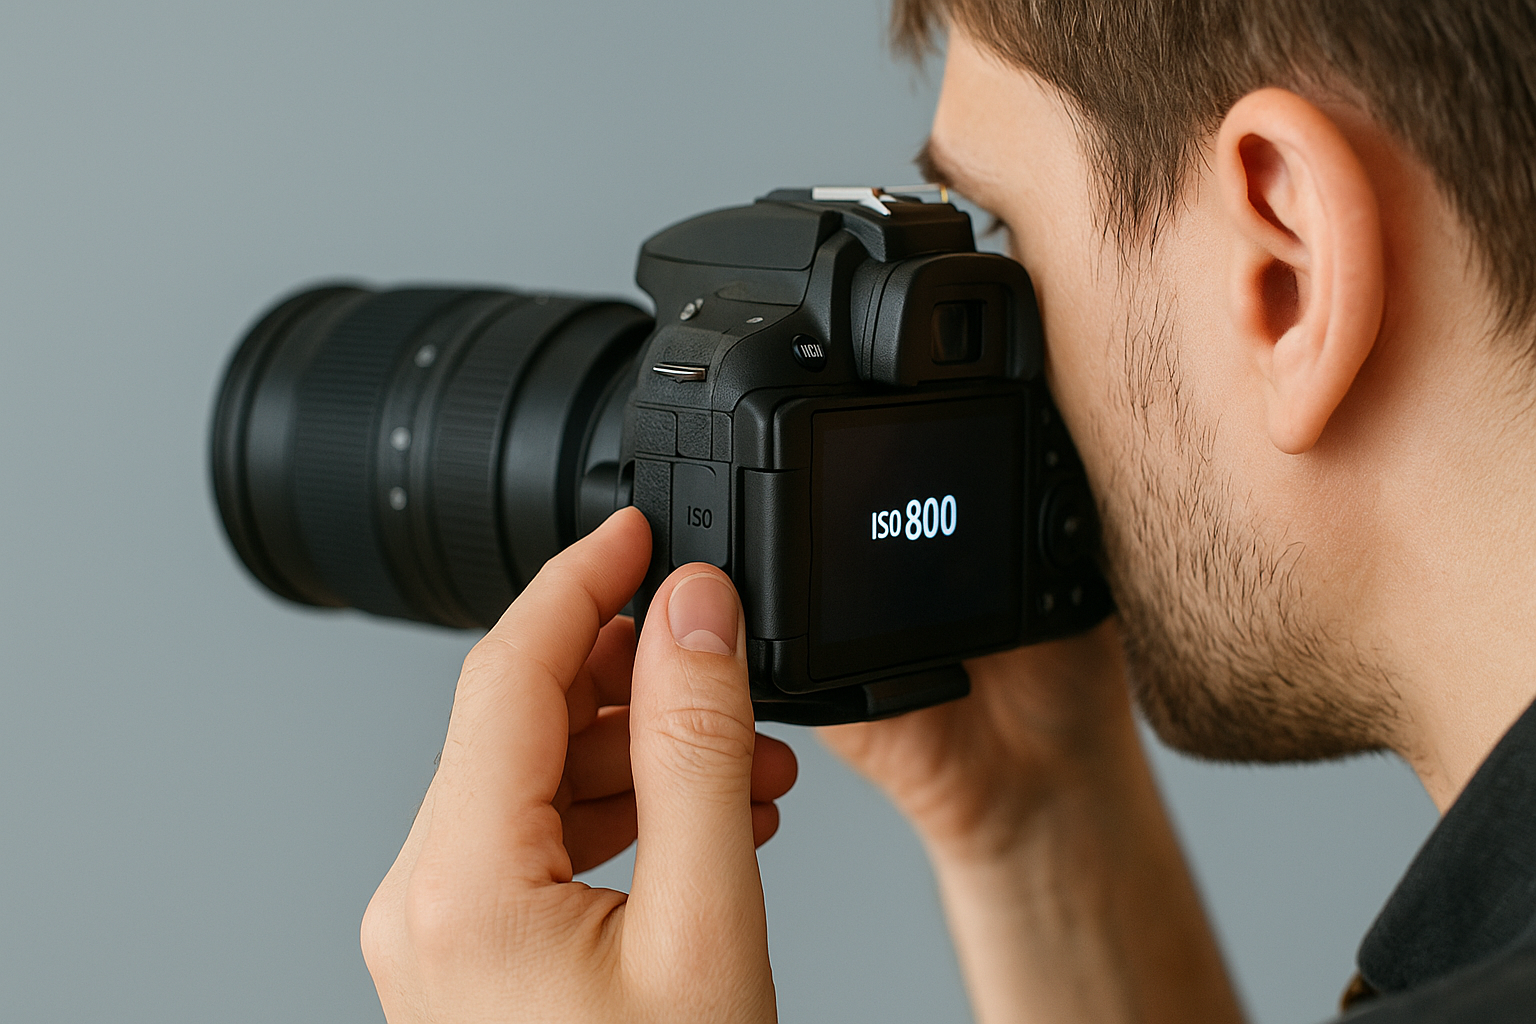
ISO Value on Your Camera
Learn ISO in Photography | Control Light and Image Quality
If you have your DSLR camera or equivalent close by, compare your camera’s ISO settings with the advice on this page. Remember that terms for camera modes may slightly vary with each manufacturer.
ISO Values
Learn ISO in Photography | Control Light and Image Quality
Understanding ISO in Photography
ISO is one of the three key elements of photography, alongside aperture and shutter speed, that make up the exposure triangle. It controls your camera’s sensitivity to light and directly impacts the brightness and quality of your images. A low ISO setting, such as ISO 100 or 200, is ideal for bright outdoor conditions, producing crisp, detailed photos with minimal noise. Higher ISO values, like ISO 1600 or above, make the camera sensor more sensitive to light, helping you shoot in darker environments, but can introduce grain or digital noise into your images.
How to Use ISO for Better Photos
Mastering ISO gives you greater creative control over your photography. If you’re shooting landscapes on a sunny day, keeping ISO low ensures sharp, clean results. For indoor events or low-light scenes where using a flash isn’t possible, raising ISO allows you to capture the moment without motion blur. Understanding how ISO balances with aperture and shutter speed helps you adapt to any lighting situation, whether you’re a beginner or advancing your photography skills. By experimenting with different ISO settings, you’ll discover how to achieve the right balance between brightness and image clarity.
Practical Tips for Using ISO
1. Use Auto ISO: Many modern cameras have an Auto ISO feature that automatically adjusts the ISO based on the lighting conditions. This can be particularly useful for dynamic environments where lighting changes frequently.
2. Manually Adjust When Necessary: For more creative control, manually adjust the ISO. Start with the lowest possible ISO to minimise noise and increase it as needed.
3. Understand Your Camera’s Limits: Different cameras handle high ISO settings differently. Familiarise yourself with your camera’s performance at various ISO levels to know its limits and capabilities.
4. Post-Processing: Noise reduction software can help mitigate the effects of high ISO settings in post-processing. Tools like Adobe Lightroom or noise reduction plugins can improve image quality.
01
Low ISO Settings
• Less Sensitivity to Light: Lower ISO values (e.g., ISO 100 or 200) make the camera sensor less sensitive to light, requiring more light to achieve proper exposure. This is ideal for bright, sunny conditions.
• Higher Image Quality: Lower ISO settings produce images with less noise (graininess), resulting in cleaner and sharper photos.
02
High ISO Settings
• More Sensitivity to Light: Higher ISO values (e.g., ISO 1600 or above) increase the sensor’s sensitivity, allowing you to take photos in low-light conditions without using a flash.
• Increased Noise: Higher ISO settings can introduce noise, which may reduce the overall quality of the image by making it appear grainy or speckled.
03
Choosing the Right ISO Settings on Your Camera
Selecting the appropriate ISO setting depends on several factors, including lighting conditions, desired depth of field, and motion. Here are some general guidelines:
1. Bright, Sunny Conditions: Use a low ISO (100-200) to maintain high image quality.
2. Indoors or Cloudy Days: A moderate ISO (400-800) can help achieve proper exposure without too much noise.
3. Low-Light or Night Photography: Higher ISO settings (1600 and above) may be necessary to capture sufficient light, but be mindful of potential noise.
04
Balancing Aperture, Shutter Speed and ISO
ISO is one of the three pillars of the Exposure Triangle, the other two being aperture and shutter speed. Balancing these three settings is crucial for achieving the desired exposure and artistic effect in your photos.
• Aperture: Controls the amount of light entering the lens and affects the depth of field.
• Shutter Speed: Determines how long the sensor is exposed to light and can freeze or blur motion.
For instance, in low-light conditions, you might increase the ISO to avoid a slow shutter speed that could cause motion blur. Alternatively, you might widen the aperture to allow more light in without increasing the ISO too much.
05
Conclusion: Enhancing Your Photography Journey
Learn ISO in Photography | Control Light and Image Quality
ISO is a fundamental aspect of photography that significantly influences the quality and exposure of your images. By mastering ISO and understanding how it interacts with aperture and shutter speed, you can take full control of your camera and capture stunning photos in any lighting condition. Remember, the key to excellent photography is experimentation and practice, so don’t be afraid to try different ISO settings and learn from the results.